I can think of a million different uses for them.
- office supplies like rubber bands, an eraser, even a mini stapler for your day bag (paper clips in the top box!)
- a creative package option for wrapped chocolates and the like
- sanitary napkins and other ladies things
- sewing supplies for on the go... (top boxes for buttons and little hooks)
- small toiletries and make-up
- even a fresh pair of undies...?
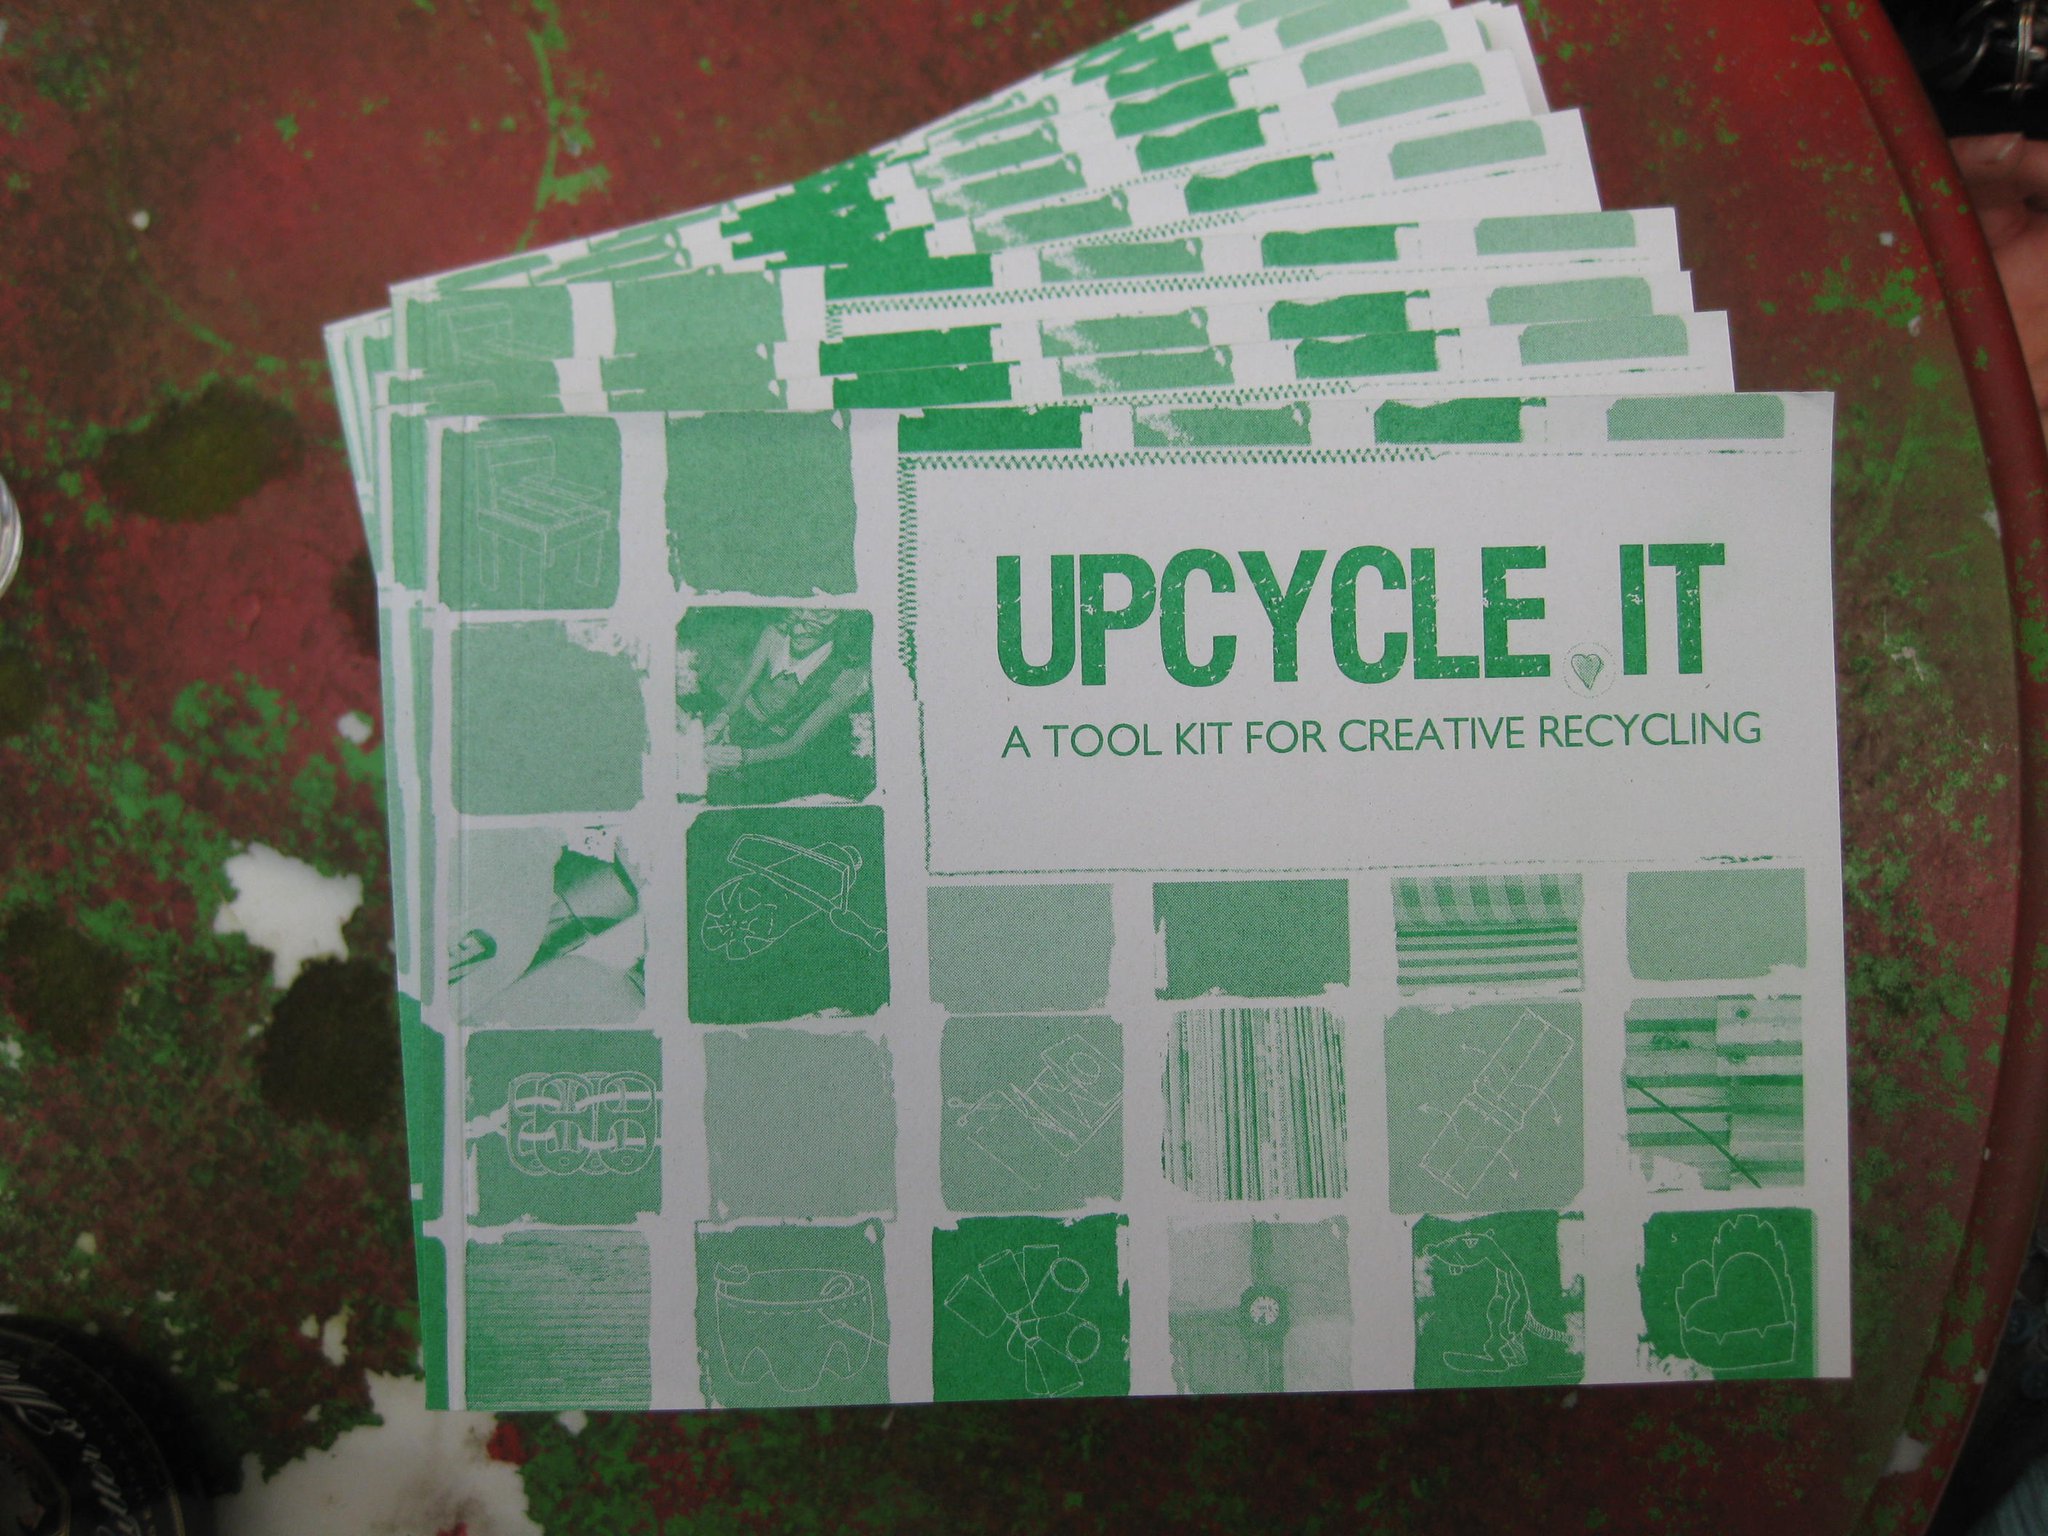
I found this idea in the same little book as the home-made cookie cutters:
It comes in English and Spanish and you can order it HERE. There are also lots of upcycling videos on that site, so go have a look!
HOW-TO:
You'll need:
- Pet bottles - two of the same or very similar kind.
- Multi-purpose glue (strong)
- scissors and/or knife
- strip of paper, tape, a ruler and a pencil
- a zipper, 22cm long (9 inches) or more, to go around the bottle
- a small and a large sharp pointed hand sewing needle
- thread (can be quilting or somewhat stronger than regular sewing thread)
- optional: toothpicks and an awl
Cut off the bottoms of the bottles as straight as possible. I had good results with the regular scissors. The two bottoms don't have to be the same height (keep the tops and bottle necks for later!). Rinse them out thoroughly:
On the strip of paper, mark dots every 5mm (1/4 inch) or however long you want your stitches to be. Wrap it around the bottle bottoms and tape it there temporarily. Punch holes through the dots with the large needle or awl. They should be about 1cm (3/8 inch) below the edge, so that when you sew the zipper, the teeth will be just over the bottle rim:
Now remove the paper strip and start stitching (not at the very end or very beginning):
Overlap the zipper ending and beginning, or add a strip of fabric if yours is too short, as mine was:
Sew the other half to the zipper as well:
I went around it a second time, with a different color thread this time:
Voilá, you are done!
In my smaller version, instead of the fabric strip I just stitched the ends together so nothing can fall out:
But of course, you could just take a zipper that is long enough to begin with ;-)
Now on to the "left-overs"!
Cut off the bottle neck below the screw closure, where the bottle starts getting wider. The plastic is harder here and you might need a sharp knife for this:
Check if the screw tops fit onto that cut-off edge, and if so, put glue in it:
You might want to use a tooth pick to evenly spread the glue:
Or you might want to put the glue on the bottle neck:
That's it!!! Screw the other top to your pill-box and voilá!
Super quick, super cute. You need about 10min. for these:
...and 30min. for each of these:
You could even use a much larger portion of one pet bottle, and only a small one from the other, and then use it to transport paper documents or drawings, rolled up in it.
However, the more of the pet bottle you use, the more "squashable" it gets :-)
I hope you are having fun with this! I'll post some winter accessories next (with tutorials), and then I should be back with "real" sewing, and "real" garments again!
Katja


Thanks a lot for documenting these projects and for the link. Nice idea, they look both good and useful.
ReplyDelete