

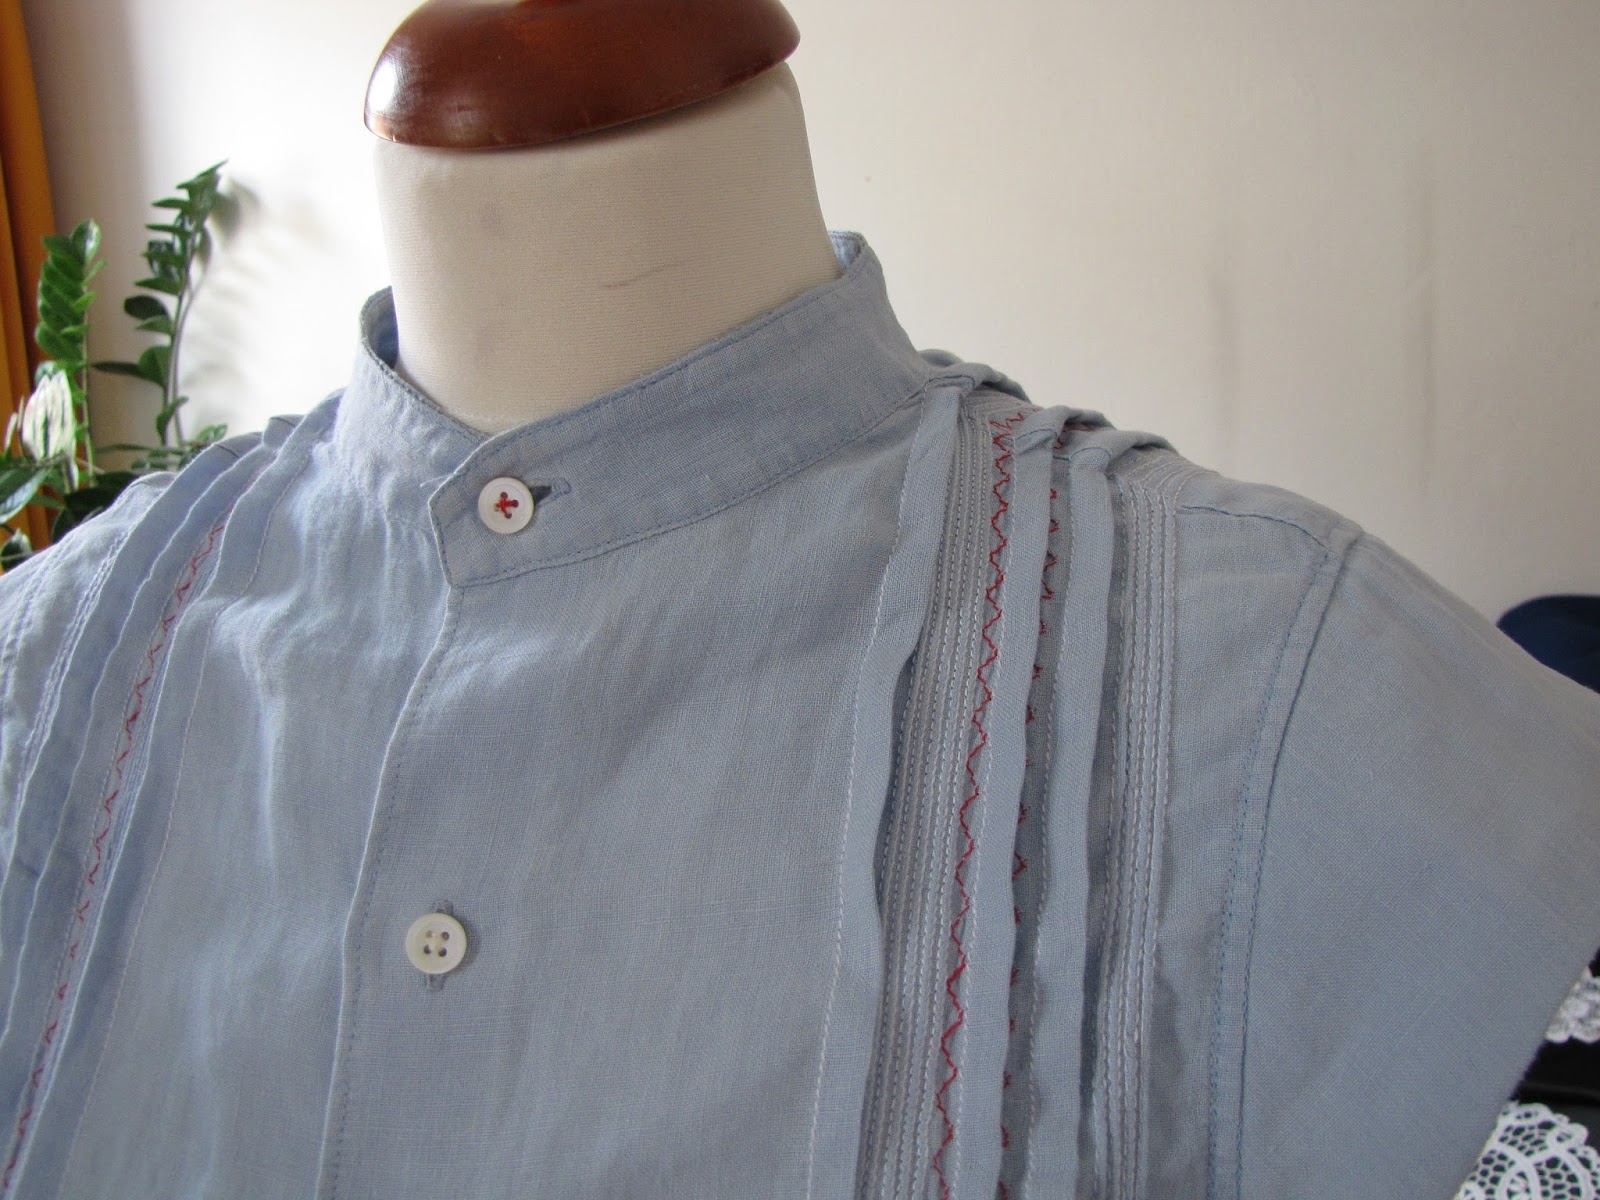
I know pin-tucks are usually placed closer to the center, but I didn't want to take off the collar and I needed to get rid of some excess width on the shoulders anyway, so I placed them further out than normal. I think it adds a lovely twist with them going over the shoulder and all the way down the back...

It was a quick project and gave me the chance to finally start using some of those pressure feet I never use, as well as some specialty stitches from my machine.
1. First Fitting

I also determined how far down I wanted the pin-tucks to go. It should probably be somewhere around the waist line. A little higher would be possible (as in my case), but don't go too low. You want the full width of the original shirt around your hips.
2. De-constructing
You don't want to rush the de-constructing! Be careful not to cut or rip parts you might want to use later! In this case, I took off the collar and the pocket carefully with a seam opener. The sleeves I cut off somewhere around elbow hight.

Now measure how much narrower the shoulders need to be and calculate approximately how many pin tucks that would make - in case you are making wide ones... In my case, I made very small ones with the pin-tuck pressure foot, as well as some wider ones. You can also just start somewhere and keep measuring/fitting it until you get to the desired shoulder width...


3. Pin-tucking!
Now the fun starts! Pintuck away! But be careful - measure and mark the very first one very straight along the grain line (center front). All the others don't have to be marked as they will be oriented along the first one, so that is why you have to pay special attention in the beginning. Go slowly across the shoulder (in my case, the fabric was double there) and make sure to stay parallel to the grain line in the back, too!
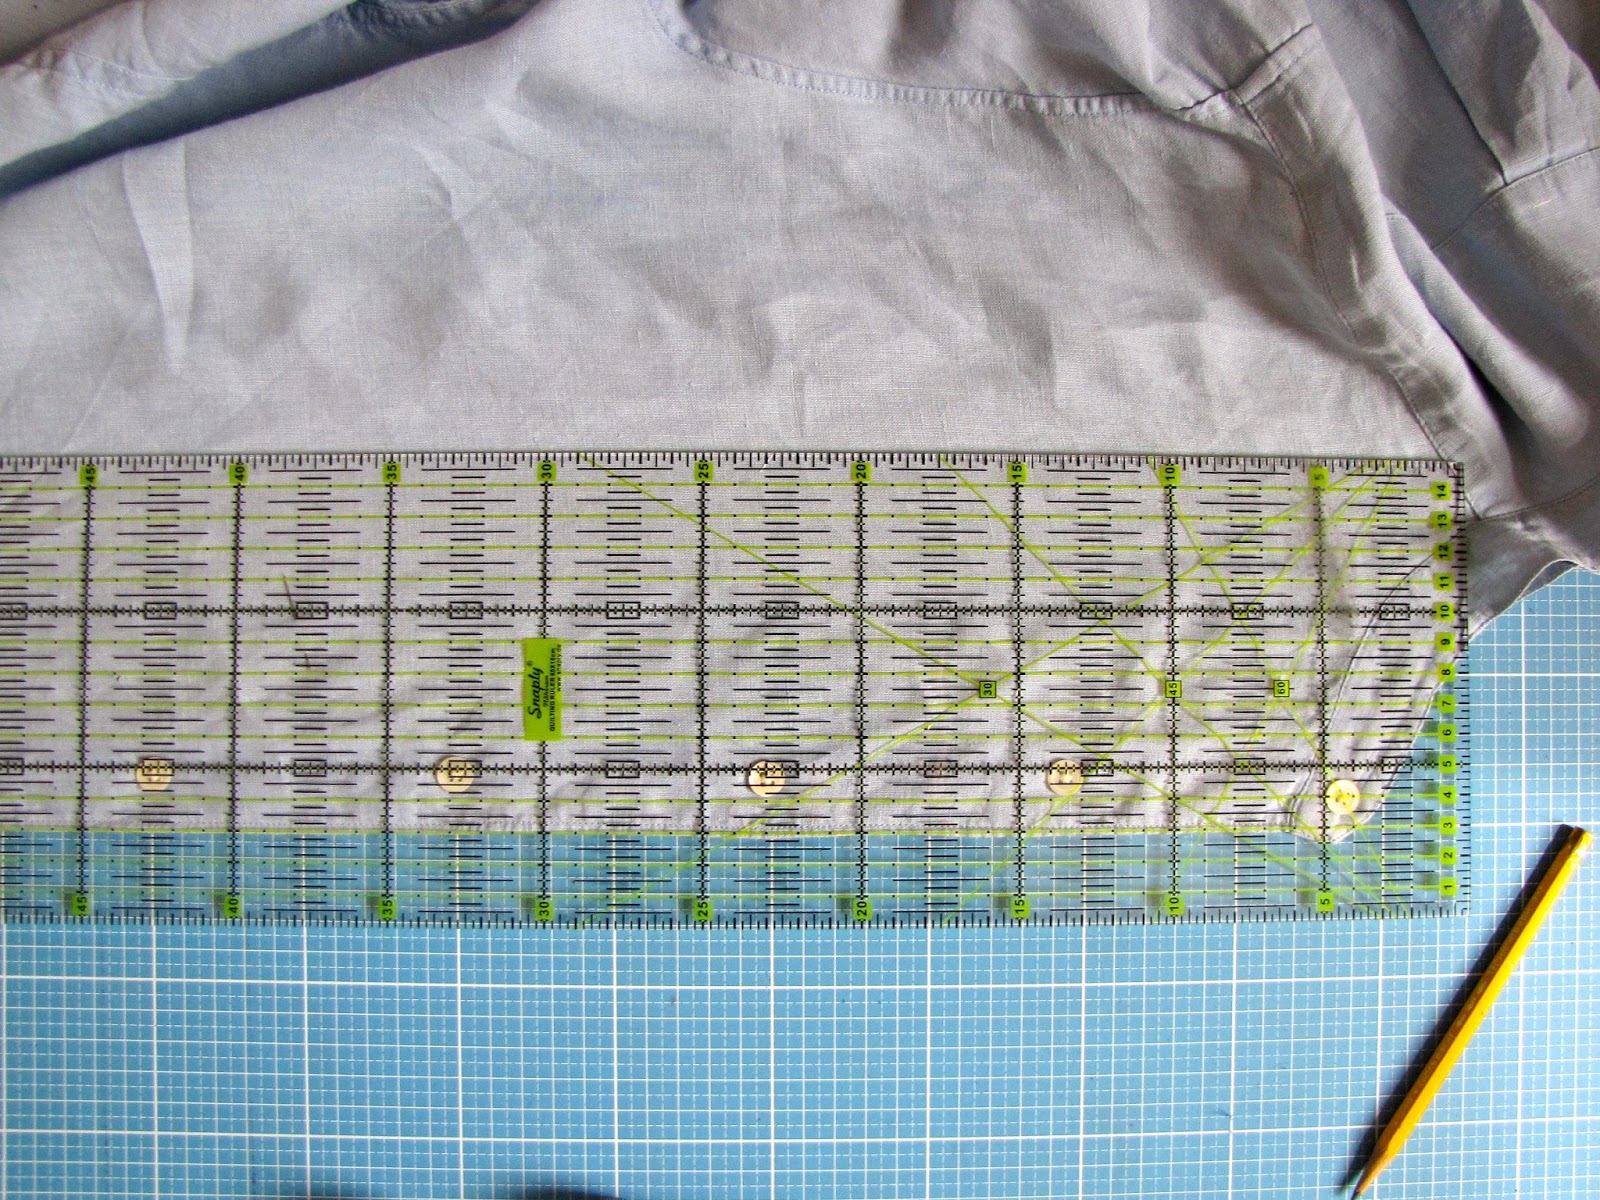
Always, always do test runs on the original fabric until you get the effect you want. I used somewhat thicker thread, a double needle and my pin-tuck pressure foot. I had to turn up the tension quite a lot. Double needles come in different versions, closer together, or further apart. See what you like best...
 |
| I was using part of the cut off sleeve for my trial runs. |
4. Add more decorative stitching if desired
I decided to add some decorative stitching between my wider pin tucks, just for fun. It only peeks out a little, and I used red thread for it.
5. Make the sleeves
Do a second fitting to see what shape of sleeve looks good on you. Fold under the sleeves and pin in place. This might not work with all shapes of sleeves - you have to cut the sleeve open along its seam almost all the way to the arm scythe. If the shape of your sleeve still doesn't have the right shape to fit snugly, you can make a normal hem along the sleeve. In my case, I folded it under all the way to the arm scythe, so the fabric is actually double. Then I sewed along the stitches from the former sleeve seam... (the pins along the arm scythe). Make sure to finish the edge - either before or after. I sewed the first stitching line, then cut back the seam allowance, finished it, and stitched a second line, also along one of the former seams, thus tacking the finished edge down.

6. Make belt-loops and a belt if desired
Use fabric from the cut off sleeves and fold as in the picture below. My strip of fabric was around 1,5 - 2 inches, the final width of the loops about 3/8th...

Stitch closely along the open edge as well as the folded edge and cut it into the right lengths - depending on how wide a belt you want. But don't forget that you will fold under the ends about 3/8th inches and sew them on with a square of stitching on each end, possibly with an "X" through it, so don't make them too short! It means that you need the desired width of the belt (plus a little ease), plus four times 3/8ths!

In my case, I had already a perfect little belt for this shirt, but you could just make one out of your fabric, basically the same way you made the belt loops...
Do another fitting to determine where the belt loops need to be placed! You might also decide the placement of the pocket, so you save yourself an extra fitting for the next step. However, I love to put things on pretty much after each step of the way...
7. Re-attach the pocket, close the collar & add finishing touches
Place the pocket anywhere you want and stitch it on.

The back is lovely, I really like the shape of the hem - all unchanged from the original!

Here it is as I wore it the next day:

If anything isn't clear, if you have problems or questions, feel free to ask! I can't always answer immediately, but I make sure to answer all questions sooner or later!

Best,
Katja
The detailed stitching is so pretty. I'm a fan of the one red x button, more would take away from the specialness I think. The pocket placement is such fun! :o)
ReplyDeletewww.dressupnotdown.blogspot.com
Very cute! A great inspiration for all of the HUGE button downs my well meaning aunts donated to my closet this past pregnancy.
ReplyDeleteVery nice. I commented over at Refashion coop too. Now I have to go see if I have a pintuck foot! (I can still do it if not, I'm sure).
ReplyDeleteGreat tutorial, thanks.
Kathy
I think you did a great job with this - you look great in your new shirt.
ReplyDeleteI get an useful and descriptive info from this blog about
ReplyDeleteLinen tops as it contains all the information about linen tops which I really want to find.thanks
Its really a amazing blog about Linen shirts which provide useful information about linen shirts which I didn’t found from any other website.
ReplyDeleteYour blog is incomparable. I have checked out many but this is very impressive tips which will help in clearing doubts about Linen Shirts. I will refer it to my friends. Thanks and Keep updating.
ReplyDeleteYour ideas are ingenious, I'm often guest here to look : )) - keep it up!
ReplyDeleteGreetings from South Germany. Susan