Saturday, November 26, 2011

Cookie Cutters - Tutorial!

Here comes one of my few non-sewing/non-illustration posts!
Especially around the holidays I start taking out my crafting supplies and tools, be it for presents or decorations. Yesterday, I made these cookie cutters:


Being able to make your own cookie cutters could be so cool - even if it's just numbers and letters, maybe for somebody's birthday, or an anniversary. But I'm sure you will come up with all kinds of ideas - instruments, logos, animals. All kinds of stuff that maybe you won't find in the store, or you just don't have the time to go looking for it.

I have recently become somewhat obsessed with recycling instead of always buying and buying and throwing things away... and I was thrilled to find this book a while ago:
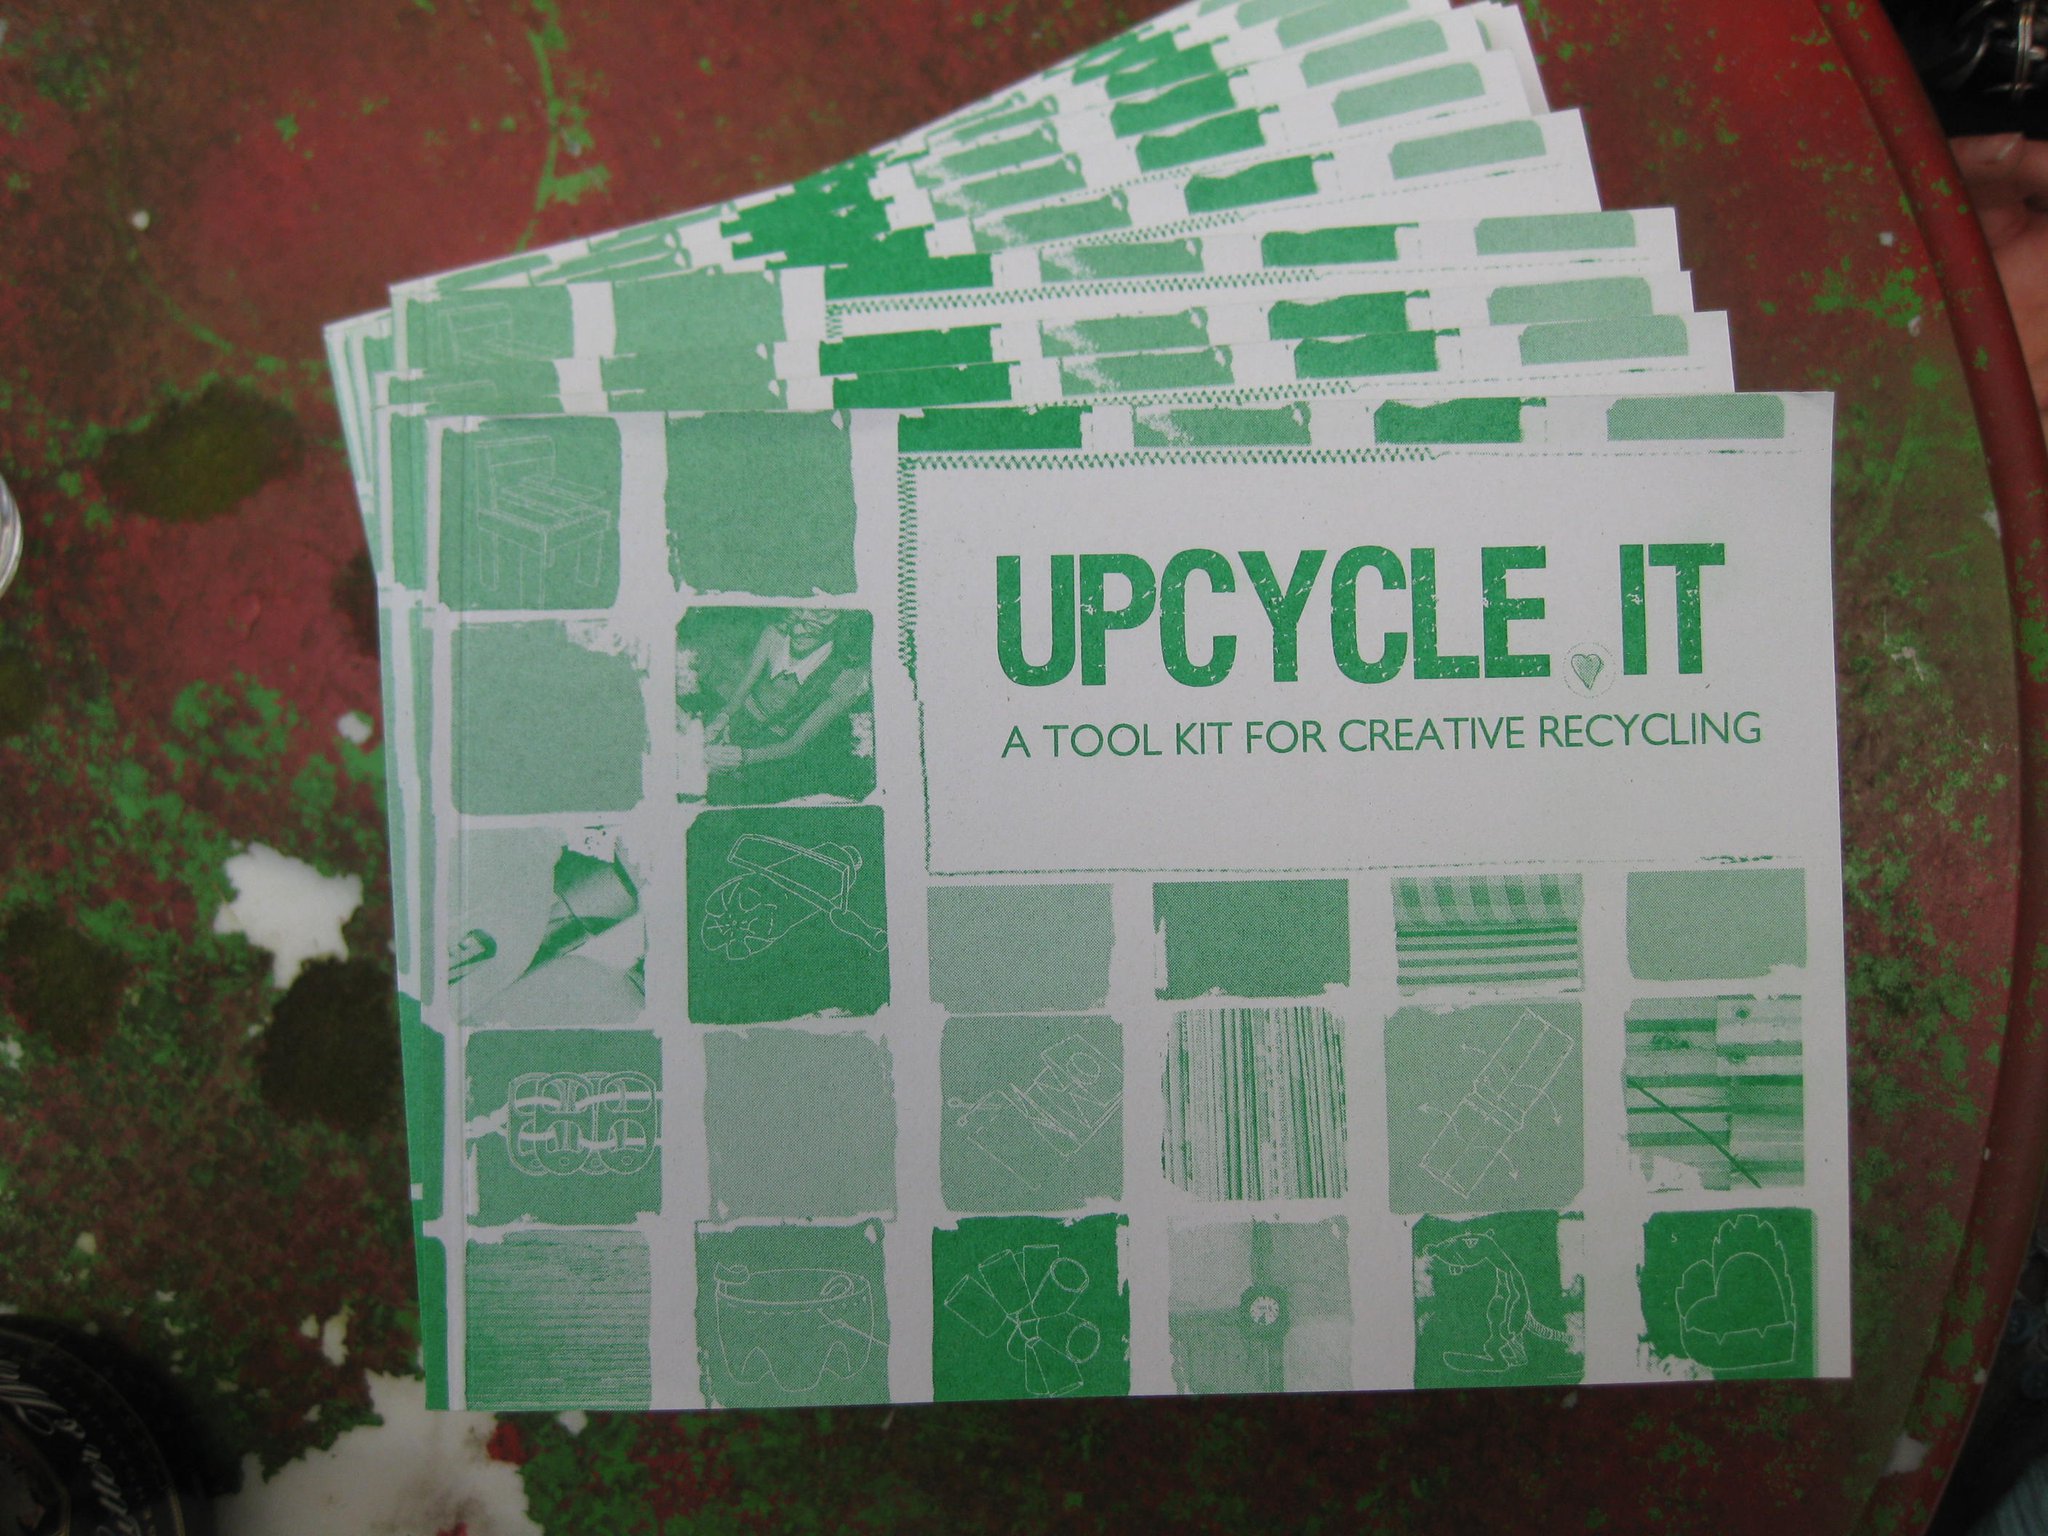

It comes in English and Spanish and you can order it HERE. There are also lots of upcycling videos on that site, so go have a look!
I will try out some of their projects and post them here, but that will only scratch the surface. It's definitely an inspiring book and worth the money. I paid only 5 Euros and was told that the money goes towards making this a bigger, nicer book, maybe with better pictures... (hint***hint***).

So anyway, it's not my own idea, but it is a "creative commons" project, which I am allowed to share as long as I mention the source.

Wednesday, November 23, 2011

The Diva Coat! Making-of #1


As promised, after giving you a first overview of my coat making-of in THIS POST, I will show and tell some more details in about 3 more posts. Today, I will cover what I accomplished on my first four out of a total of 12 work days for this coat.
This coat was my contribution to the BurdaStyle Sewing Handbook.


Monday, November 21, 2011

Topturned Pants - Upcycling how-to!

Would you guess that this top:


...had a former life as pants?


Quite a transformation, right? I'll show you some close-ups and then give you a full how-to!

Thursday, November 10, 2011

The Diva Coat!

My Contribution to the BurdaStyle Sewing Handbook:


No really, I couldn't say that I often sit at home sulking about the fact that I can't go to a cool party. In fact, I often choose staying at home (and doing something creative) OVER being at a cool party. But today is different. Today is the official launch party for the BurdaStyle Sewing Handbook, to which all the contributors were invited. How I would LOVE to be there in New York! I've lived in New York for five years and often dream about going back - today more than ever.

*** HAVE FUN AT THE PARTY! ***
*sigh*

I'm definitely counting on you fellow bloggers and BurdaStyle to take pictures and blog about it sometime soon! Please?

We were asked to keep quiet about it for such a long time now that it actually feels strange to finally show and tell.
I will divide this story up into three or four posts, so that I can share a lot of photos and information about how this coat came to life. Today is just a first overview.

Monday, November 7, 2011

A Blazer for Mom


My mom has always been the biggest promoter, sponsor and motivator of my creative undertakings, no matter what field they happened to be in. So it is no surprise she also gave me a little push onto the next level in sewing: making a tailored garment for someone other than myself... She also insisted on being my first "real" customer, wanting to pay for it. At this point Mom, I apologize for how long you had to wait for this!
She expressed her wish for a blazer in Spring, and I only now got done with it... But then again, we live 800 kilometers apart from each other...

I knew this project was going to stretch my abilities a bit, a blazer is a difficult garment to begin with, and to fit it perfectly, there have to be several fittings... First, we decided on a general shape and pattern to base the blazer on. I didn't want to have to make the pattern from scratch, as that would have probably taken me an extra 5 years...

We took the 50's blazer that some of you already know from my 1950's Travel Set as a first guideline:


There were plenty of adjustments to be made. I made a muslin for a first fitting, which went surprisingly well and we actually only needed one additional fitting after that.
We changed the sleeves from 3/4 to full length and I added a sleeve vent to it - which was a first for me and I struggled a bit with making the pattern for it...


Thursday, November 3, 2011

Panda Bear Hug Cape

We all know how clothes can be used to express personality, right? But they can really set the mood for a whole day, too.


While in this picture I am trying to present this cape all cool, edgy and hip, I have to admit it makes me feel really warm, soft and lovable. Not only does it feel as if a Panda bear is giving me a hug all day long but I also want to give hugs to everybody. I work in the theater, and we are all pretty touchy-feely there, so I actually did hug a couple people and I definitely felt that they didn't want to let me go anymore. There were strokes over my back, hands lingering on my upper arm, cuddly leanings on my shoulder. What a day! And all caused by a simple cape.


The pattern is actually really cool, practically only one piece, except for the facing. And the best part is: it's free! It's called Elena and you can get it HERE. I'm not sure it comes in English, but if you have the paper pattern, it's really simple to sew together. I used Fleece instead of Jersey, which explains the Panda bear effect a little... It also goes extremely well with the tulip skirt called Minu from the same site. Not for free, but 3,90 Euros for the download really isn't very much. You can find that one HERE. It's a VERY quick project to sew!

This is the skirt minu from the same site as the cape elena...
It goes just as well with more elegant things as with casual, sportive outfits, and works zipped, half-zipped or even unzipped. I got lots of compliments for this piece, which further improved my days. If you make it out of fleece like me, it is super cozy and warm.

Wednesday, October 12, 2011

A Fashionable New Fall Favorite!

ME MADE MITTWOCH #18

Deutsch: Grauer Text

English: Blue text blocks


Voilá, heute kann ich wieder ein neues Stück präsentieren für den Me-Made-Mittwoch. Diesen wunderbaren Double-Face Stoff hatte ich schon lange bei mir und wusste nicht so recht, was ich daraus machen kann, damit der Wende-Aspekt so richtig Sinn macht. Bis ich endlich drauf kam, dass es ein ganz simpler Schnitt sein muss. Das Schnittmuster habe ich dann abgekupfert von meinem absolut liebsten Sommer-Teil, welches aus ganz leichter, weisser Baumwolle ist - ich trage es gerne über ärmellose Shirts und überhaupt über alles und täglich. Nun habe ich meine Herbst Version gemacht, habe ein paar Optimierungen am Schnitt vorgenommen und es zum Wende-Teil gemacht, was das weisse Original natürlich nicht war. Es gibt bestimmt 203 Arten, es zu tragen!

Voilá, today I can present a brand new piece again for Me-Made-Wednesday. I had bought this wonderful double-face fabric a while ago but didn't really know what to make out of it so that the double-face would really come into play. Finally I realized that it had to be a really simple pattern and took it off a summer garment I own. The original is made from a very light white cotton and I wear it over sleeveless tops and over basically everything and every day... So I made a Fall version of it, optimized the cut a little bit and made it reversible, which the white cotton piece wasn't. There must be at least 203 ways to wear this!


Alle Nähte sind Doppelnähte (französische Nähte), damit man das Teil wenden kann.

I used French seams on the whole garment, so that I can wear it on both sides.